


A mobile jaw crusher represents a capital investment of ₹1.5-4 crore, yet its operational lifespan and productivity depend entirely on daily maintenance discipline. Plants that implement rigorous daily inspection protocols experience 40% fewer unplanned breakdowns, 25% longer component life, and 15% higher throughput consistency compared to reactive maintenance approaches. This comprehensive operator checklist transforms daily maintenance from a cursory walk-around into a systematic predictive maintenance program that catches problems before they become catastrophic failures.
Mobile jaw crushers operate in the harshest conditions imaginable—dust, vibration, impact loading, and variable feed materials. Every component experiences stress cycles numbering in the hundreds of thousands daily. The difference between a crusher that delivers 8,000 productive hours between major overhauls versus one requiring constant repair lies not in manufacturing quality alone, but in the daily attention operators give to critical checkpoints.
This guide provides a comprehensive daily maintenance protocol covering pre-start checks, running inspections, and shutdown procedures. Each checkpoint includes specific parameters, warning thresholds, and corrective actions—transforming operators from machine monitors into predictive maintenance specialists.
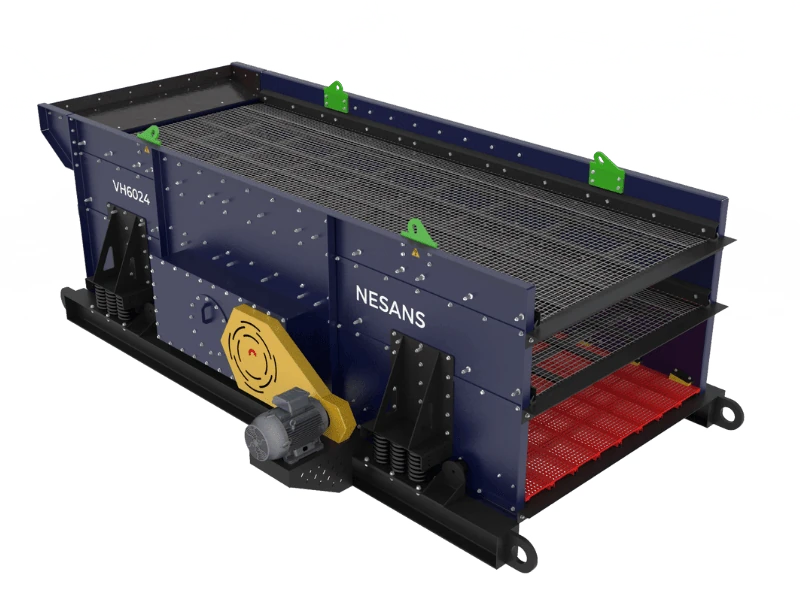
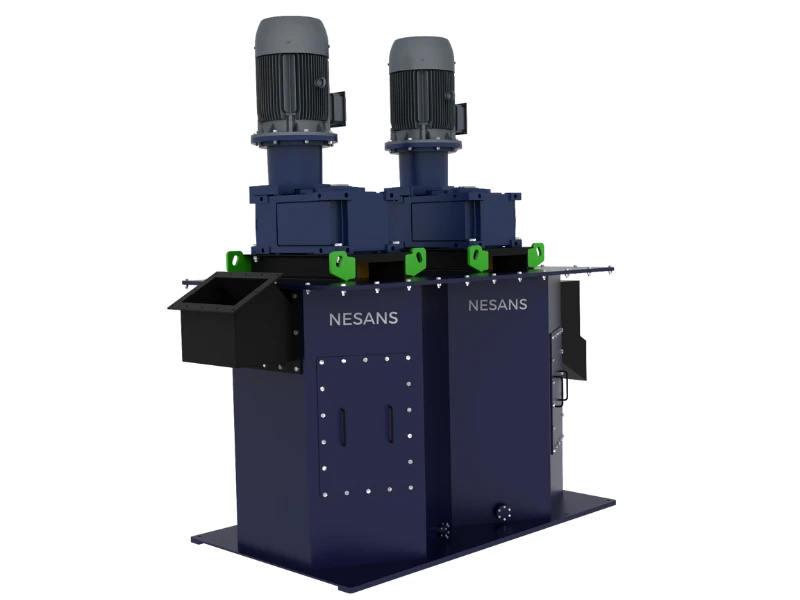
Understanding Mobile Jaw Crusher Systems
Before diving into maintenance procedures, operators must understand the integrated systems that make mobile jaw crushers function. Each system has specific failure modes, warning signs, and maintenance requirements.
Primary Systems Overview
| System | Function | Critical Components | Primary Failure Modes | Inspection Frequency |
|---|---|---|---|---|
| Crushing Chamber | Size reduction through compression | Fixed jaw, swing jaw, toggle plate, bearings | Wear, fatigue, overload damage | Every shift |
| Drive System | Power transmission from engine to crusher | Diesel engine, hydraulic pumps, V-belts, flywheel | Wear, misalignment, contamination | Every shift |
| Hydraulic System | CSS adjustment, fold-out operations, jaw relief | Pump, cylinders, valves, filters, reservoir | Leaks, contamination, pressure loss | Daily + running |
| Feed System | Material delivery to crushing chamber | Hopper, grizzly feeder, feed chute | Wear, blockage, misalignment | Every shift |
| Discharge System | Crushed material evacuation | Under-crusher conveyor, discharge chute | Spillage, belt damage, blockage | Continuous |
| Undercarriage | Mobility and stability | Tracks, track frames, final drives, rollers | Wear, tension loss, seal failure | Daily |
| Electrical System | Control, monitoring, safety interlocks | PLC, sensors, wiring, displays | Corrosion, vibration damage, sensor drift | Daily |
Daily Operating Parameters
Understanding normal operating parameters allows operators to identify deviations before they indicate serious problems:
| Parameter | Normal Range | Warning Threshold | Critical/Shutdown | Probable Cause if Abnormal |
|---|---|---|---|---|
| Engine Oil Pressure | 40-65 psi (running) | <35 psi | <25 psi | Low oil level, pump wear, filter restriction |
| Engine Coolant Temp | 82-95°C | >100°C | >105°C | Low coolant, radiator blockage, fan issue |
| Hydraulic Oil Temp | 40-65°C | >75°C | >82°C | Low oil, cooler blockage, relief valve bypass |
| Hydraulic System Pressure | 180-220 bar (working) | <170 bar or >230 bar | <150 bar or >250 bar | Pump wear, relief valve, internal leakage |
| Eccentric Shaft Bearing Temp | 40-70°C | >80°C | >90°C | Lubrication failure, bearing damage |
| Toggle Seat Bearing Temp | 35-55°C | >65°C | >75°C | Insufficient grease, wear |
| Main Frame Oil Level | Sight glass 1/2-3/4 | <1/4 or >full | Empty or overflow | Seal failure, overfilling |
| V-Belt Tension | 10-15mm deflection at center | >20mm or <8mm | Slipping or snapping | Stretch, wear, incorrect adjustment |
Pre-Start Inspection Checklist (30-45 Minutes)
The pre-start inspection is the most critical maintenance opportunity of the day. Performed before the engine starts, it allows thorough examination of all systems without time pressure or safety concerns from moving components.
1. Safety and Perimeter Check (5 minutes)
Before approaching the machine:
- Area Clear: Verify no personnel, vehicles, or obstacles within the swing radius and discharge zone
- Ground Conditions: Check for soft spots, erosion, or water accumulation that could affect stability
- Warning Signs: Ensure all safety signage is visible and intact
- Fire Extinguisher: Verify presence, full charge (green zone), inspection tag current
- First Aid Kit: Confirm presence and completeness
- Lockout/Tagout: Remove any lockouts from previous shift, verify no ongoing maintenance tags
Action if Failed: Do not start machine until safety deficiencies are corrected. Document in shift log.
2. Walk-Around Visual Inspection (10 minutes)
Perform a complete circuit of the machine, checking:
Crushing Chamber Area:
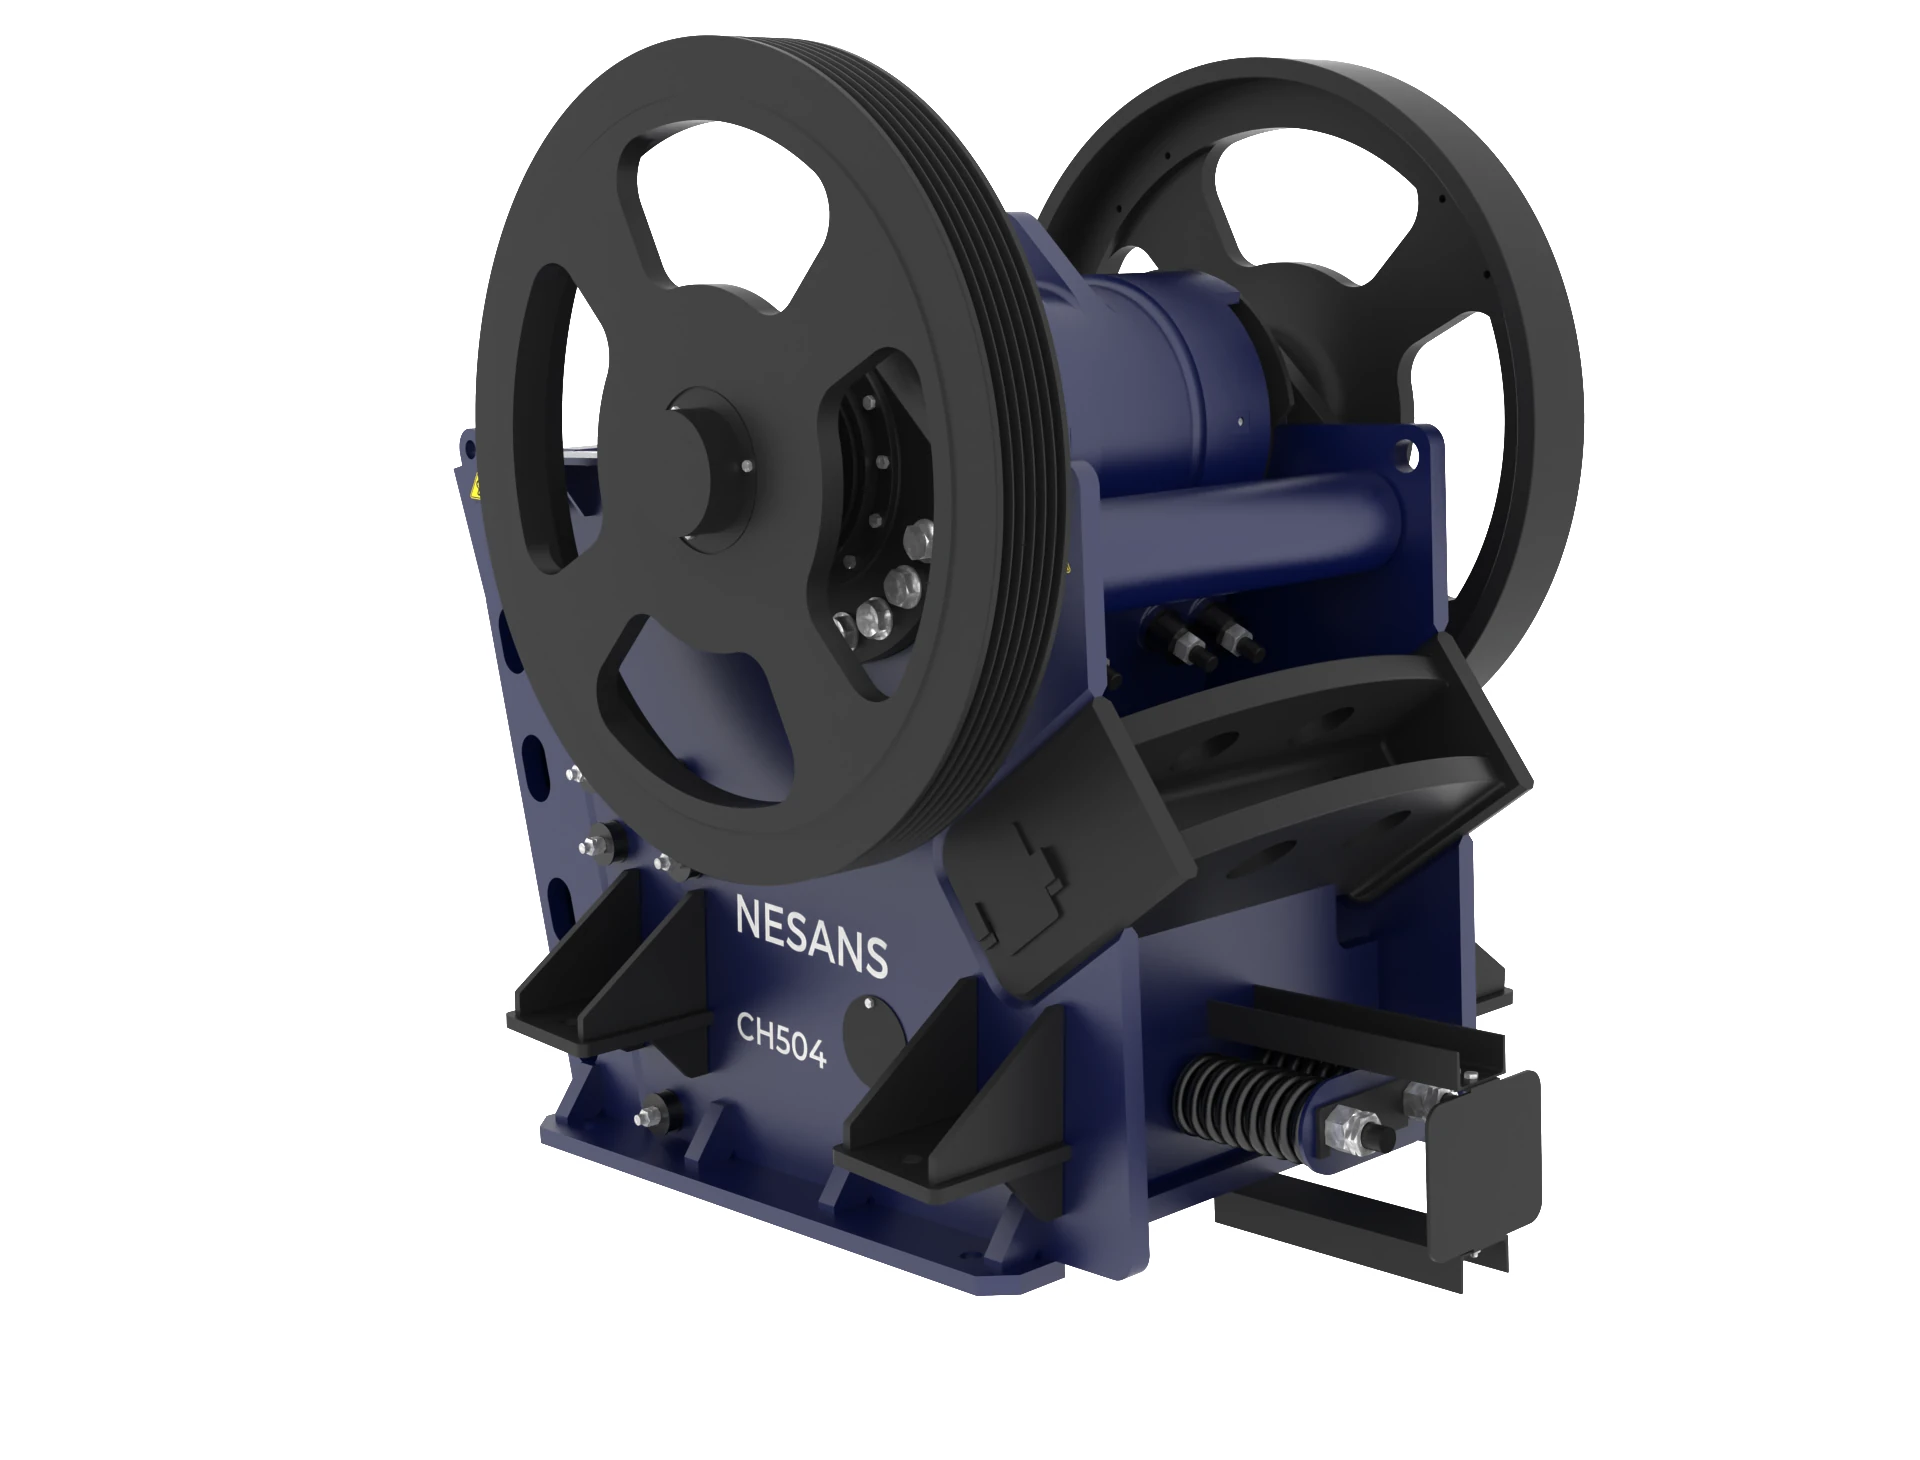
- Jaw Die Condition: Visually inspect through inspection doors for wear pattern, cracks, loose bolts. Jaw dies should show even wear. Localized deep wear indicates feed distribution problems.
- Toggle Plate: Check for cracks, especially at pivot points. Toggle plates are designed to fail before main frame damage—they're a critical safety device.
- Cheek Plates: Look for excessive wear, loose fasteners, or missing sections.
- Wedge Adjustment System: Verify wedges are secure, no signs of movement during previous operation.
- Accumulation: Check for material buildup in chamber. Overnight moisture can cause bridging on startup.
| Component | Acceptable Condition | Replace When | Check Method |
|---|---|---|---|
| Fixed Jaw Die | Even wear, teeth visible | <50% of original thickness, cracks, breaking teeth | Visual + measurement with gauge |
| Swing Jaw Die | Even wear pattern | <50% thickness, uneven wear >15mm difference | Visual + measurement |
| Toggle Plate | No visible cracks | Any crack, deformation, pitting | Visual inspection with flashlight |
| Cheek Plates | Surface intact, bolts tight | Worn through, loose or missing bolts | Visual + bolt check |
Frame and Structure:
- Main Frame: Inspect for cracks, particularly around bearing housings and toggle seat areas
- Mounting Bolts: Verify all visible bolts are present and appear tight
- Weld Integrity: Look for crack propagation from existing welds
- Rubber Mounting Pads: Check for deterioration, separation, or excessive compression
Hydraulic System:
- Reservoir Level: Check sight glass—should be 3/4 full when cold
- Leaks: Inspect all hose connections, cylinder seals, valve blocks. Note: A single drop per hour is acceptable; continuous dripping requires attention.
- Hose Condition: Look for abrasion, cuts, bulging, or hardening
- Cylinder Rods: Check for scoring, pitting, or coating damage
Drive System:
- V-Belts: Check tension (10-15mm deflection at midpoint under 10kg force), wear, cracking, alignment
- Belt Guards: Verify all guards are in place and secure
- Flywheel: Visual check for cracks, balance weights secure
- Sheave Alignment: Belts should run true, not climbing sides of sheaves
Feed and Discharge System:
- Grizzly Feeder: Check for bent bars, loose fasteners, worn liners
- Feed Hopper: Inspect liner condition, buildup accumulation
- Discharge Conveyor: Belt tracking, splice condition, scraper effectiveness
- Skirting: Check for wear, proper contact with belt
3. Undercarriage Inspection (10 minutes)
The undercarriage is often neglected but critical for mobile operations:
| Component | Check Point | Acceptable | Action Required |
|---|---|---|---|
| Track Tension | Sag between rollers | 40-60mm sag for steel tracks | Adjust if outside range—loose tracks accelerate wear, tight tracks increase drive loads |
| Track Pads | Shoe height measurement | >50% original height | Plan replacement, rotate if uneven wear |
| Rollers | Spin by hand, listen | Free rotation, smooth | Grinding = bearing failure imminent |
| Idler Wheels | Visual + rotation | No flat spots, free rotation | Replace if seized or worn flat |
| Final Drive | Oil level check, leak inspection | Correct level, no leaks | Top up or investigate leak source |
| Track Frame | Cracks, distortion | No visible damage | Immediate repair if cracked |
| Sprocket | Tooth wear, cracking | Teeth >50% height, no cracks | Replace when hooked or cracked |
4. Fluid Level Checks (10 minutes)
Check all fluid levels with the machine on level ground, engine cold:
| Fluid | Check Location | Correct Level | If Low | Specification |
|---|---|---|---|---|
| Engine Oil | Dipstick | Between marks | Top up to upper mark | 15W-40 CI-4 or manufacturer spec |
| Engine Coolant | Expansion tank | Between MIN-MAX cold | Add 50/50 coolant mix | Type as specified, typically OAT |
| Hydraulic Oil | Reservoir sight glass | 3/4 full cold | Add ISO VG 46 or 68 | As specified, typically anti-wear AW |
| Diesel Fuel | Tank gauge | Plan for full shift | Refuel before starting | Ultra-low sulfur diesel |
| DEF (if equipped) | DEF tank gauge | >1/4 tank | Top up—engine derates without DEF | ISO 22241 specification |
| Crusher Bearing Oil | Main frame sight glass | 1/2 to 3/4 | Add specified oil | ISO VG 150 or 220 typically |
Important: Document any fluid additions. Increasing consumption indicates developing problems requiring investigation.
5. Lubrication System Check (5 minutes)
Most mobile jaw crushers use automatic lubrication systems. Daily checks:
- Grease Reservoir Level: Check sight glass or open reservoir—should be >1/4 full
- Grease Type: Verify correct grease is installed (NLGI 2 EP typically)
- Pump Operation: Activate manual cycle if equipped, verify pressure builds
- Distribution Lines: Check all lines for damage, disconnection, or kinking
- Grease at Bearing Points: Fresh grease should be visible at bearing seals after recent cycling
| Lubrication Point | Grease Type | Manual Interval if Auto-Lube Failed | Quantity per Point |
|---|---|---|---|
| Eccentric Shaft Bearings | Oil bath—NOT grease | N/A—oil level check only | Maintain sight glass level |
| Toggle Plate Seats | EP2 Lithium Complex | Every 2 hours | 3-5 pumps per side |
| Tension Rod Bushings | EP2 Lithium Complex | Every 4 hours | 2-3 pumps each |
| Pitman Bearing (if greasable) | EP2 Lithium Complex | Every 2 hours | 5-10 pumps |
| Flywheel Bearing (if greasable) | EP2 Lithium Complex | Every 4 hours | 3-5 pumps per side |
6. Electrical and Control System Check (5 minutes)
- Battery: Check terminals for corrosion, connections tight, electrolyte level if serviceable
- Wiring: Look for chafing, rodent damage, loose connections
- Control Panel: All displays functional, no warning lights illuminated before start
- Emergency Stops: Verify all E-stops are in "run" position, test function weekly
- Level Sensors: Clean if dusty, verify not blocked
- Proximity Sensors: Clean and verify alignment
Startup Procedure and Running Checks
Controlled Startup Sequence
Proper startup sequence prevents damage and allows system self-diagnosis:
- Final Visual Check: Ensure all personnel clear, guards in place, chamber empty or clear of tramp material
- Turn Key to "On": Wait for all systems to initialize (10-30 seconds depending on model)
- Verify No Alarm Codes: Address any startup alarms before proceeding
- Start Engine: Allow immediate idle for 30 seconds, then let engine warm at low idle for 3-5 minutes (longer in cold weather)
- Check Gauges: Oil pressure should rise immediately. Coolant temperature should begin climbing after 2-3 minutes.
- Hydraulic Warm-Up: Cycle hydraulic functions slowly (feeder gates, CSS adjustment) to circulate and warm hydraulic oil
- Start Crusher: With engine at operating speed, engage crusher. Let it run empty for 2 minutes to stabilize.
- Start Conveyors: Engage discharge conveyor, verify belt tracking
- Start Feeder: Begin feeding material at reduced rate initially
First 30 Minutes Running Checks
The first 30 minutes of operation reveal developing problems:
| Time After Start | Check Point | Expected | Action if Abnormal |
|---|---|---|---|
| 5 minutes | Engine oil pressure | 40-65 psi stable | Shutdown if <35 psi, investigate |
| 5 minutes | Hydraulic pressure | Building to working pressure | Check pump if pressure doesn't build |
| 10 minutes | Engine coolant temp | Rising toward 82-95°C | Investigate if not warming or overheating |
| 10 minutes | Hydraulic oil temp | Rising but <65°C | Normal warmup—watch for rapid rise |
| 15 minutes | Crusher bearing temps | Stabilizing <70°C | Rising trend above 80°C indicates problem |
| 15 minutes | Unusual sounds | Smooth operation | Investigate any new knocking, grinding, squealing |
| 30 minutes | All temps stabilized | Within normal operating range | Continuing rise indicates problem |
Continuous Running Monitoring
During operation, operators should monitor:
Visual Monitoring:
- Feed rate consistency—avoid surge feeding
- Product size—sudden changes indicate wear or CSS drift
- Dust generation—excessive dust may indicate worn seals or material issues
- Belt tracking on discharge conveyor
- Material spillage—indicates overfeeding, belt issues, or skirting problems
Audible Monitoring:
- Crushing chamber sound—should be rhythmic, consistent
- Bearing noise—high-pitched whine indicates lubrication issues or bearing distress
- Belt squeal—indicates slippage, tension, or alignment problems
- Hydraulic whine—pump cavitation or low fluid
- Engine sound—knocking or unusual exhaust note indicates problems
Instrument Monitoring:
- Check all gauges/displays hourly minimum
- Record readings at fixed intervals (start, 2 hours, 4 hours, etc.)
- Note any trends—gradual temperature increases often indicate developing issues
Mid-Shift Inspection (Every 4 Hours)
During natural production breaks or shift changes:
Quick Inspection Points (15 minutes):
- Visual Leak Check: Walk around looking for new fluid leaks
- Belt and Drive Check: Verify V-belts not excessively hot or squealing
- Bearing Temperature: Use infrared thermometer on accessible bearing housings—compare to startup baseline
- Grease System: Verify auto-lube cycling, reservoir level adequate
- Filter Indicators: Check hydraulic filter bypass indicator, air filter restriction indicator
- Coolant Level: Top up if needed (carefully—pressurized when hot)
- Fuel Level: Ensure adequate fuel for remaining operation
Documentation Requirements:
Record in shift log:
- Time and operating hours
- All temperature readings
- Any fluid additions (type and quantity)
- Unusual observations
- Production figures (tonnes processed if metered)
Shutdown Procedure
Proper shutdown extends component life and sets up for easy restart:
Controlled Shutdown Sequence:
- Stop Feeder: Cease material input
- Run Crusher Clear: Allow chamber to empty completely (2-5 minutes depending on size)
- Stop Crusher: Only after chamber is empty—never stop under load
- Run Conveyor Clear: Allow all material to discharge
- Stop Conveyors: Once clear of material
- Engine Cool-Down: Let engine idle 3-5 minutes to allow turbocharger to cool
- Shutdown Engine: Turn key off
- Post-Shutdown Check: Walk around looking for leaks, loose components, unusual wear
Post-Shutdown Documentation:
- Record final operating hours
- Note any issues observed during operation
- Document any maintenance performed
- List any parts needed or work required for next shift
- Sign and date shift log
Common Problems and Troubleshooting
Problem: Crusher Running Hot
| Symptom | Probable Cause | Immediate Action | Root Cause Fix |
|---|---|---|---|
| Bearing temp rising >80°C | Insufficient lubrication | Reduce load, check oil level | Investigate oil pump, lines, filters |
| Hydraulic temp >75°C | Cooler blocked, low oil | Reduce operations, check level | Clean cooler, check relief valve |
| Engine overheating | Radiator blocked, coolant low | Shutdown if >105°C | Clean radiator, check fan operation |
| V-belts hot | Slipping from low tension | Reduce load | Adjust tension, check sheave wear |
Problem: Unusual Noise
| Sound Type | Probable Source | Severity | Action |
|---|---|---|---|
| Metallic knocking | Toggle plate, loose jaw dies | High—stop and inspect | Check toggle, die bolts, bearing clearance |
| Continuous grinding | Bearing failure | Critical—stop immediately | Identify bearing, plan replacement |
| Belt squeal | Slippage from tension or load | Medium | Adjust tension, check for overload |
| Hydraulic whine | Pump cavitation, air in system | Medium to High | Check oil level, suction filter, air leaks |
| Irregular thumping | Toggle plate or pitman bearing | High | Stop and inspect toggle assembly |
Problem: Reduced Production
| Observation | Probable Cause | Check | Resolution |
|---|---|---|---|
| Lower throughput | CSS opened, worn jaws | Measure CSS, inspect jaws | Reset CSS, replace jaws if worn |
| Coarser product | CSS opened | Measure CSS | Adjust CSS to specification |
| Frequent stalling | Overfeeding, CSS too tight, wet sticky material | Feed rate, CSS, material | Adjust feed, open CSS, manage moisture |
| Uneven jaw wear | Uncentered feeding | Feed distribution pattern | Adjust feed point, check hopper wear |
Weekly Maintenance Tasks
In addition to daily checks, weekly maintenance ensures longer-term reliability:
| Task | Procedure | Time Required | Tools Needed |
|---|---|---|---|
| Jaw Die Measurement | Measure thickness at 3 points, record wear rate | 20 min | Caliper or wear gauge |
| CSS Measurement | Measure at 3 points minimum | 15 min | CSS gauge, flashlight |
| V-Belt Inspection | Check for cracks, glazing, cord exposure | 15 min | Visual, flashlight |
| Track Tension Check | Measure sag, adjust if needed | 30 min | Tape measure, grease gun for tensioner |
| Emergency Stop Test | Test all E-stops for function | 10 min | None |
| Air Filter Inspection | Clean or replace pre-filter, check main element | 20 min | Compressed air, replacement filter |
| Hydraulic Filter Check | Check indicator, replace if showing bypass | 30 min if replacing | Replacement filter, drain pan |
| Battery Maintenance | Clean terminals, check connections, test voltage | 15 min | Wire brush, multimeter |
| Grease Line Inspection | Check all auto-lube lines for damage | 15 min | Visual |
Documentation and Tracking
Effective maintenance requires consistent documentation:
Daily Log Entries Should Include:
- Date and shift
- Operating hours (start and end)
- Pre-start checklist completion confirmation
- All fluid levels and any additions
- Operating temperatures at set intervals
- Any abnormalities observed
- Maintenance performed
- Parts used or needed
- Operator name and signature
Tracking Metrics for Predictive Maintenance:
| Metric | What It Indicates | Track How | Warning Sign |
|---|---|---|---|
| Oil Consumption | Seal condition, combustion health | Weekly additions | >0.5L/100 operating hours |
| Coolant Consumption | Seal/gasket condition | Weekly additions | Any consistent loss |
| Hydraulic Oil Consumption | Seal condition | Weekly level | >0.5L/week |
| Jaw Die Wear Rate | Material abrasiveness, CSS | Weekly measurement | >2mm/1000 tonnes indicates CSS too tight |
| Fuel Consumption | Engine efficiency, load | Daily fill records | Increase without production increase |
| Bearing Temperatures | Bearing and lube condition | Hourly during operation | Rising trend |
Safety Reminders
Mobile jaw crusher maintenance carries inherent risks. Daily safety practices:
Personal Protective Equipment Required:
- Always: Hard hat, safety glasses, steel-toe boots, high-visibility vest, hearing protection
- During Inspection: Add work gloves
- During Fluid Handling: Add chemical-resistant gloves, face shield if handling hot fluids
- During Welding/Grinding: Appropriate welding PPE, fire watch
Lockout/Tagout Procedures:
Before entering any danger zone (crushing chamber, under conveyor, drive areas):
- Shutdown all systems completely
- Turn master switch to "Off"
- Remove key and retain personally
- Apply personal lock and tag to lockout point
- Attempt restart to verify lockout effective
- Block moving components if working under suspended parts
Never:
- Reach into crushing chamber while machine is running or capable of running
- Work under raised components without proper blocking
- Bypass safety interlocks
- Operate with guards removed
- Work alone on maintenance tasks
- Ignore unusual sounds, temperatures, or vibrations
Conclusion
Daily maintenance of a mobile jaw crusher is not merely a checklist exercise—it's a systematic approach to preserving capital investment, maximizing productivity, and ensuring operator safety. The 60-90 minutes invested daily in proper pre-start inspection, running checks, and shutdown procedures returns dividends through extended component life, reduced unplanned downtime, and consistent production quality.
Operators who follow this comprehensive checklist develop an intimate understanding of their machine's normal operation, allowing them to detect subtle changes that indicate developing problems. This predictive capability transforms maintenance from reactive repair to proactive optimization—the hallmark of professional aggregate production.
The most successful operations treat their mobile crushers as precision equipment worthy of precision maintenance. That mindset, combined with disciplined execution of daily procedures, distinguishes plants that achieve 8,000+ hours between major overhauls from those requiring constant intervention. Every shift begins with an opportunity to protect the investment and set up for productive operation—this checklist ensures that opportunity is never wasted.